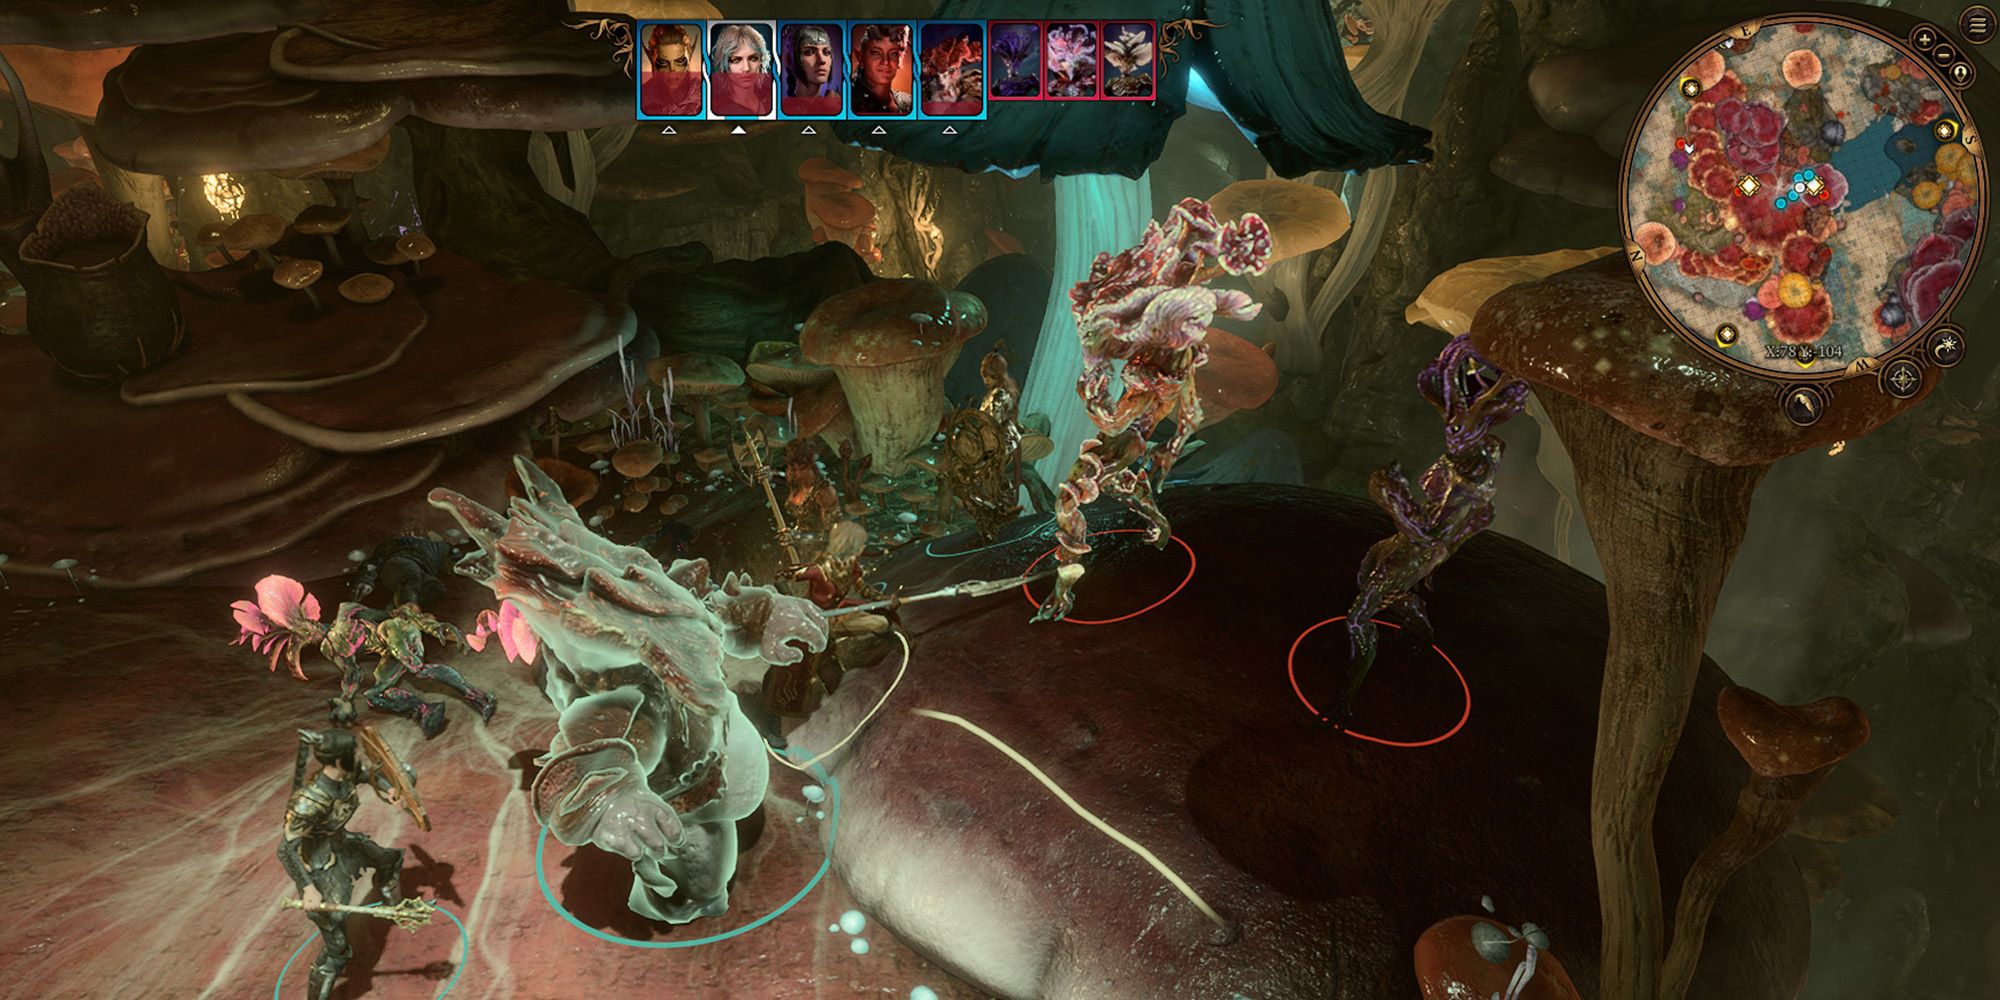
Sovereign Glut and Sovereign Spaw are two major characters who present a branching path in Baldur’s Gate 3, and choosing which one to side with can be difficult. These two Myconid sovereigns can both be encountered in the Underdark, the subterranean realm accessible in Act 1 of the game. Sovereign Spaw is the leader of a Myconid circle seeking protection from (and vengeance upon) Duergar aggressors, while Sovereign Glut has lost his own circle to the same intruders and has taken refuge in the colony that Spaw oversees.
Baldur’s Gate 3 is full of decisions that can alter the story and characters, so knowing which choices align with a desired outcome is important. Depending on which side you land on, the dispute between the two Myconid sovereigns can net the party some loot and allow for some interesting narrative paths. Of course, as with most choices in BG3, these choices can also result in some pretty tough fights. And there’s always a chance Glut will die in battle, which puts a sudden end to the storyline.
Related
Should You Help Auntie Ethel In Baldur’s Gate 3?
Auntie Ethel seems to be in some distress when first encountered in Baldur’s Gate 3, but deciding whether to help her is a very complicated choice.
Rewards For Helping Sovereign Spaw In Baldur’s Gate 3
Spaw Is Generous To His Allies
Choosing to help Sovereign Spawn means simply telling the Myconid’s current leader about the plot on his life. Spaw will promise that, if you kill Glut, he’ll allow you access to a secret treasure room. Immediately, you’ll also get a series of approval pop-ups from your companions: Karlach and Lae’zel approve, while Astarion, somewhat predictably, does not.
The loot received from killing Glut is more substantial than what can be lifted off of Spaw’s corpse. Glut has a decent range of items on him, including a couple of useful Baldur’s Gate 3 spell scrolls and several Underdark ingredients. Killing him in front of the other myconids will still treat looting him as theft, however, so getting everything off of his corpse will require killing him away from the colony (which is generally inadvisible due to sacrificing the secret room rewards) or taking a particularly stealthy approach to looting. I found some success casting invisibility before looting him.

Related
One Baldur’s Gate 3 Quest’s Best Reward Is For Losers Only
Trying to come out in top in every Baldur’s Gate 3 situation obviously has its advantages, but in one instance, accepting failure is the key to power.
Although Glut’s loot makes for some nice perks, the bigger rewards come from reporting his betrayal and death to Spaw, who will make good on his promise and open a secret room for the party to access. In addition to more scrolls, ingredients, and gold, this area contains the ![]() Shadow Of Menzoberranzan
Shadow Of Menzoberranzan
, a helmet that allows the wearer to activate invisibility once per long rest. The helmet is only one of many ways to get invisibility in Baldur’s Gate 3, but it can be particularly useful for rogues or rangers with the strategic acumen to take advantage of its positioning opportunities.
Advantages To Siding With Glut In Baldur’s Gate 3
Unique Gauntlets Are The Main Draw
Although killing Glut is generally a more attractive option than joining his quest for power, taking the latter route still offers some unique benefits in Baldur’s Gate 3. Approval results here are the inverse of siding with Spaw: Astarion approves, Karlach and Lae’zel disapprove.
Perhaps more importantly, though, Glut will agree to go with you on your journey to kill Gekh Coal, provided you promise to help him kill Spaw after the fact. The Gekh Coal fight can be tough. There’s a big vertical factor in the area where you fight him, which you can occasionally exploit by pushing the duergar off high places, but they’re just as likely to do the same. In addition, all the climbing can stifle your movement around the arena.
Glut’s powers can be massively helpful during this fight, and while it’s absolutely winnable without him, wouldn’t you rather do so with a giant mushroom on your side? Glut’s greatest skill is Animating Spores, a spell he can cast to reanimate a corpse and give you direct control over it for a short time. With Glut on your side, you can temporarily recruit every enemy you kill during this fight, although their power is admittedly reduced in spore servant form.
There is, however, the possibility that Glut may die during this fight. That happened to me during my first playthrough: one of the duergar pushed him off a high ledge during the fight, and he fell to his death. This immediately cuts this quest route short
But as long as you return with Glut alive, your next target will be Spaw. Killing Spaw may also be more difficult than killing Glut, in no small part because some of his Myconid allies will rush to his defense and can easily overwhelm you. However, the right setup and a bit of luck can make it the easiest way to solve this quest.
The loot players collect from Spaw’s body actually matches what can be found on Glut. The only real difference in rewards comes in receiving the Winter’s Clutches from siding with Glut or the contents of the secret room, including the Shadow of Menzoberranzan, from siding with Spaw.
Spaw can be knocked over a ledge with either a shove or a knockback spell, and utilizing a powerful Baldur’s Gate 3 spell like thunderwave can send him immediately into the abyss, essentially skipping the entire encounter. This does have the consequence of not being able to loot his corpse, so splitting the difference by knocking him to a lower level and dealing some damage is a reasonable compromise.
The major unique reward for this route is a pair of  Winter’s Clutches
, which are gloves that inflict 2 turns of encrusted with frost on a target. This can be a major draw for a wizard relying on ice spells, but it does have trouble stacking up against the Shadow of Menzoberranzan the party gets from siding with Spaw, which offers a more versatile appeal that makes it well-suited for essentially any party. However, do note that you can still access Spaw’s secret treasure room after killing him by casting spells like  misty step
.
You Should Side With Sovereign Spaw In Baldur’s Gate 3
Supporting The Reigning Myconid Just Makes More Sense
Sovereign Glut is more than willing to help the party take on the intruders, making it possible to recruit him as a follower that will join in combat. Glut can still fall in battle, but if he survives the main encounter with the Duergar, his ambitions will be revealed. Sovereign Glut holds a grudge against Spaw for refusing to help Glut’s circle when they were in need, leading to the destruction of the entire circle. Glut will request the party’s help in fighting Spaw to give him control of the colony, a choice that leaves little room for negotiating alternatives.
There are valid reasons to side with either Sovereign Glut or Sovereign Spaw in Baldur’s Gate 3, but refusing to join Glut’s cause is generally the best path to take. From a practical standpoint, it’s easier to refuse and fight Glut instead of Spaw. Although the rogue sovereign has a decent chunk of health, he acts alone against the entire party, making for a somewhat one-sided encounter. A well-equipped party can manage it in a single round of attacks, making for one of the easier triumphs found in a game that can occasionally provide some devious challenges.
The one downside to fighting Glut is that this battle can come right after the party has already taken some hits from fighting the Duergar, so it’s best to take stock of the party’s preparedness as the prior encounter comes to a close.
Fighting Spaw, on the other hand, can be significantly more difficult. Challenging him incurs the wrath of the entire Myconid circle that he leads, filling up the turn order and making it harder for the party to stay alive. Only Spaw needs to be killed to win the fight, but failing to do so quickly can spiral into a difficult battle. Either avenue is manageable for a party that knows how to strategize, but the more widely appealing and straightforward option is definitely taking out Glut.

Related
Baldur’s Gate 3: Act 1 Checklist (Everything You Don’t Want To Miss)
Act 1 of Baldur’s Gate 3 has much to see, like recruitable characters, hidden bosses, and other secrets that might require a checklist.
It’s also possible to employ some help in killing Glut. By agreeing to go along with his plans, the party can lead Glut back to Spaw and reveal his treachery then. Spaw and the rest of the Myconid colony will join the party in attacking Glut, making the encounter very difficult to lose. Unfortunately, however, there’s no use in taking Glut by surprise at any other moment, because killing him outside a combat encounter won’t yield the same rewards. Waiting for him to reveal his plans is necessary to get everything that supporting Spaw in Baldur’s Gate 3 has to offer.
How Choosing Glut Or Spaw Changes The Story In BG3
Neither Option Has Severe Story Consequences
Unlike some feuds in Baldur’s Gate 3, the split between the two Myconid sovereigns doesn’t cause a major story divergence. If the party sides with Glut, the Myconid colony will fall under his influence once Spaw is dead, stabilizing the situation quickly and simply swapping out their leader. Both Spaw and Glut will request the head of the next enemy to vanquish in the Underdark, making the two paths come together again. As exhibited by their gifts, both Sovereigns will appreciate the help, although their different personalities lead them to thank the party in different ways.

Related
Baldur’s Gate 3: Should You Help Gekh Coal?
Gekh Coal isn’t a nice guy, but it is possible to lend him a hand in Baldur’s Gate 3. Here’s what happens if you do or don’t, and what you can miss.
The biggest narrative impact of siding with Glut or Spaw might lie in its influence on the opinions of companions. Astarion, for example, will be pleased by siding with Glut and killing Spaw, while Karlach will take offense at it. Considering the ethics of these characters, this isn’t surprising. Although Glut’s anger at Sovereign Spaw is at least somewhat justified, it’s fairly obvious that lust for revenge and control motivate his actions. It isn’t necessarily a completely evil choice, but it is the more underhanded of the options.
Like all the choices in Baldur’s Gate 3, it’s also perfectly reasonable to go in either direction for roleplay reasons. A custom character built around a backstory of revenge might be more likely to side with Glut inherently, and the difference in rewards isn’t significant enough to make this a terrible decision. A typical good-aligned party, on the other hand, is generally more likely to simply stick with Spaw, with the extra rewards just being the cherry on top.
The lack of large-scale story branches makes the choice between Sovereign Glut and Sovereign Spaw ultimately one of minor consequences, but that doesn’t mean the two options are equal. Despite both avenues offering reasonably similar rewards, the advantage in combat and slightly improved loot that sticking up for Spaw offers are enough of an edge to make it a generally more viable decision. A focus on ice attacks, a romance with Astarion, or an evil playthrough could each be a possible reason to side with Glut, but otherwise, choosing Spaw’s path in Baldur’s Gate 3 makes the most sense.

Baldur’s Gate 3
- Released
-
August 3, 2023
- ESRB
-
M for Mature: Blood and Gore, Partial Nudity, Sexual Content, Strong Language, Violence


